Rob’s 1911/2011 USPSA Limited Gun Build
There is a custom gun and a “C U S T O M – G U N”. Many believe that if you swap out a couple of parts that you have a custom gun. Well, not really. You may have customized it a bit, but at the end of the day you still have an off the rack gun.
So here is the pictorial of my gun build that Craig and did. Enjoy!
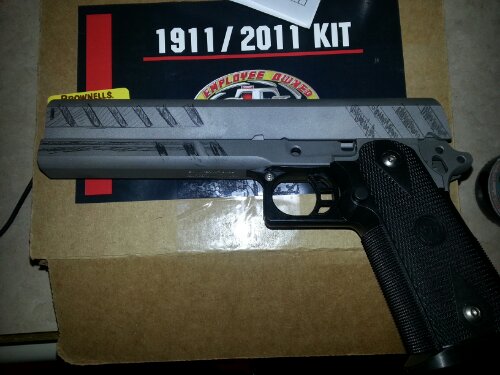
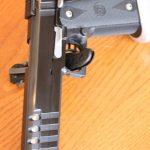
Step 1 – The frame and slide in fake fitted (slide is only sitting on one rail for the picture). The frame and slide are in the form they were recieved:

Step 2 – The initial design in pencil. This is easy. if you mess up you can erase it and start over….

Step 3 – Slide is trammed in and Craig is showing me how to do the first cut. Notepad at the ready for machining instructions.

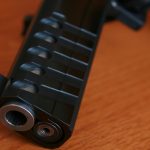
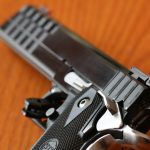
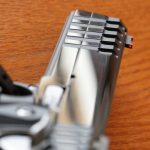
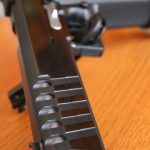
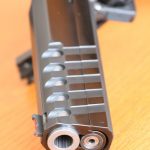
Step 4 – Day 1. The slide is done! Cut and blasted with aluminium oxide.

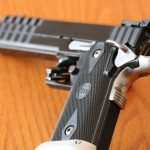
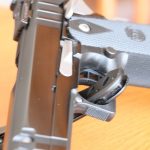
Step 5 – Slide and Frame are cut and fitted together! Looking good!

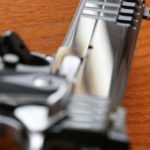
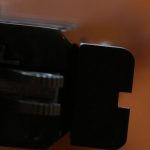
Step 6 – Starting the sanding process and removing the tool marks. This is the initial phase.

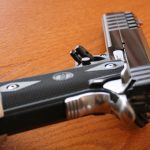
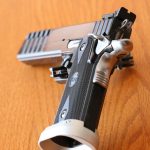
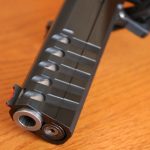
Step 7 – Now everything has been fitted including the barrel. While I like STI, I would recommend a Schuemann or Bar-Sto barrel over an STI. STI might be cheaper, but you spend sooo much extra time on fitting.

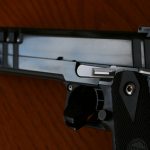
Step 8 – The other side

Step 9 – Back apart and ready for prep for blueing…

Step 10 – Sanded to the 600 grit level. Lots of sandpaper and kerosene (water may work, but kerosene prevents rust)

Step 11 – …and a 1000 grit wet sanded. Now we are ready for blueing:

.
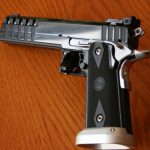
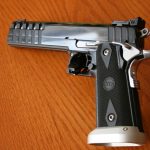
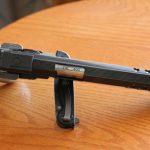
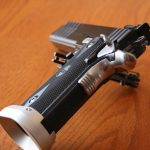
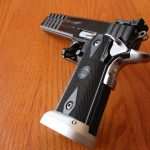
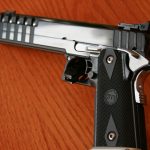
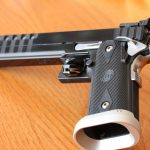
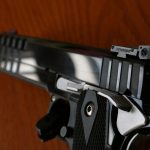
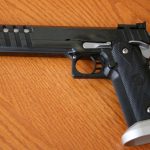
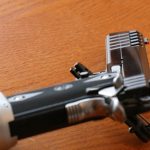
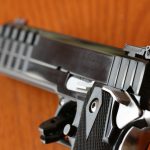
Final picture:

…here are some pictures:


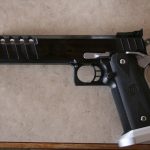
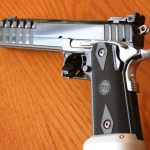
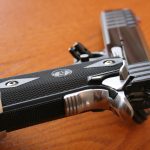

…and here is another gun that Craig built for Aaron:
