Make your own Hornady EZject Sub-Plate
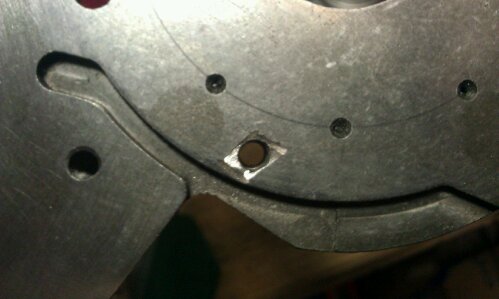
Hello, again. ’tis is the season for reloading once again! I’ve probably run about 8000 rounds through my Hornady LNL Progressive Press since the last major reloading post and shot about 6000 rounds in that time, excluding .22’s of course. Now, it is back to bulk reloading for the winter to get me caught up for next competition season. It’s always nicer to enjoy the sunshine vs. reloading in the basement. Winter reloading? …I love it.
So, for the winter, I’m going to switch to my “Wheel-Gun” so I don’t have chase the brass in the snow. Funny story, the first time I asked my wife if she liked my “Wheel-Gun,” she though I was doing some baby talk and responded: “Yes, dear, I like your ‘WHREAL-gun'”. So it went back and forth for a while until she finally asked: “Why do you call your REAL-GUN???”
Anyway, back to the post. So I’m getting ready run a 1000 .38spl rounds through the press when I notice the sub-plate is moving on the ram. Turns out one of the screws had busted loose and the threads inside the sub-plate were almost gone. A couple of calls to Hornady and their great customer service (Lonnie/Gary) did their best to get me up and going again. But it is almost the weekend, and I’m ready to crank out some .38’s *NOW*! So I get out the old NON- EZject subplate and decide to convert it…. Enough babbling on — here we go:
What you need:
- Old Non-EZject subplate
- A square piece of steel (like a piece of an old punch, or maybe your wife’s cutlery, or a stainless bolt squared up on the grinder)
- Some Loctite Metal Epoxy
- A small file
- A DREMEL (If you don’t have one after all my posts, shame on you!)
- A drill bit
- A couple of hours
-
NOTE: Your shell plates need to be EZject compatible! See previous post for photo.
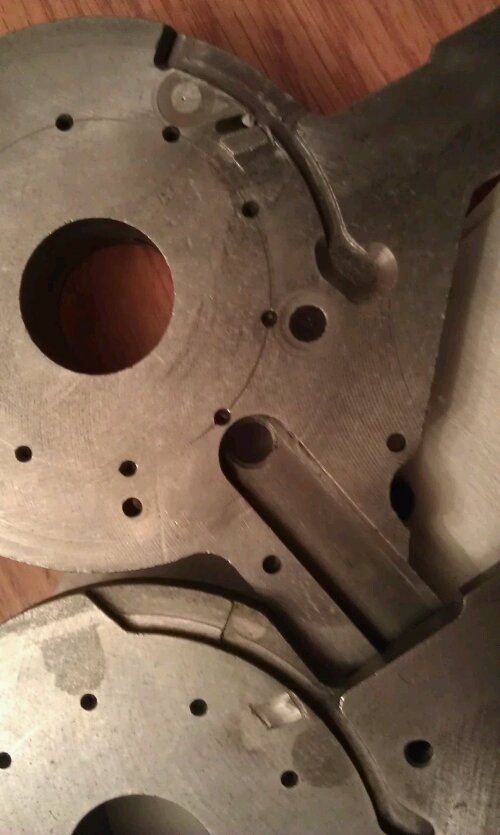
If you have a watchful eye, you can see that the main difference is the little knob/boss that ejects the shell. The goal of the project is to add that to the old sub-plate. So what I did, is take a piece of paper and outline the EZ sub-plate. Then I cut out the area where the knob/boss is and then transferred that area onto the old plate. (For those that don’t have a EZ sub-plate to create a template from, I will post a PDF that you can print and use. Here it is: EZject-Template) Then I started grinding the area that needed to be removed:

Then I drilled a hole (see above) trough the center of the marked area. This is then followed by about an hour of filing the area into that square shape below:
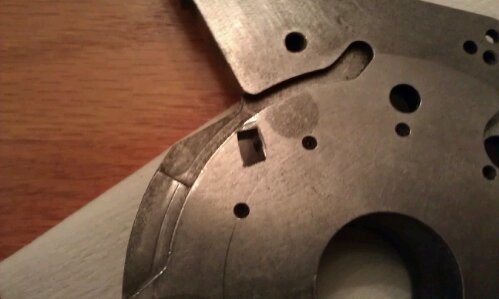
Now take you piece of square metal, for me it was a punch I picked up at a garage sale. The old guy drove a hard bargain and I ended up paying a dollar for this thing. Anyway, I just needed a little piece of it, so it is still usable even after being re-purposed. O.k., make sure it fits in the void you created. If not “MAKE IT FIT!”. Just keep filing on one or the other until it does.
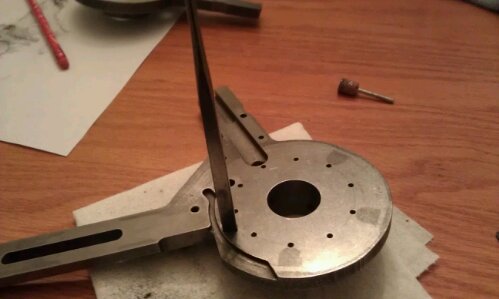
I got it in there and then I cut it off, with plenty still sticking out. The goal is to get it close and then to clean it up later:
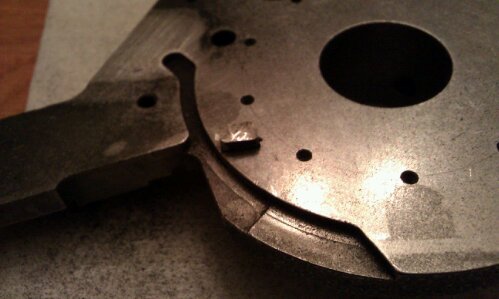
Ah! The Tinker’s friend… the one that forgives all little mistakes: “LOCKTITE METAL EPOXY!” Alright, we are ready, pull the square peg back out and let’ set this thing PERMANENTLY… TIP: It is hardly visible, but I put a piece of tape on the bottom to prevent the epoxy from running out. Then put the epoxy in the hole and re-seat the peg.
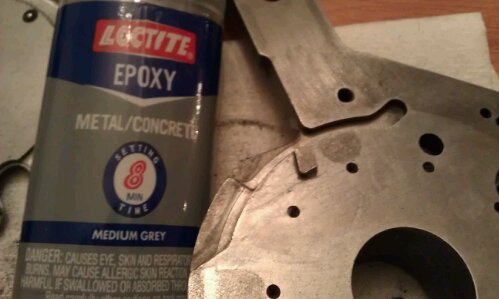
Oh, we are getting so close! This is 20 hours later. I just finished DREMELing it down to the right size (top and sides), while always checking it with the EZject shell plate. You want this knob very close to the groove. If you are doing this project without a sample EZject sub-plate, I would recommend installing the sub-plate on the press before grinding it down to the final dimensions. It helps with the alignment of things:
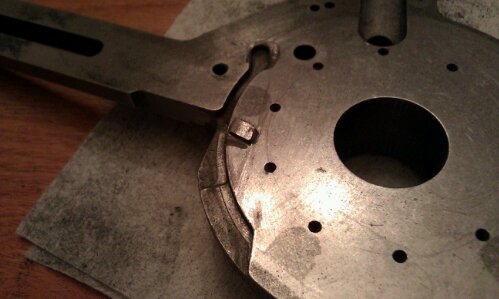
Yeah, it fits! Also note the “cut” in front of the “knob”. I added it because the EZject sub-plate also has it. It is there to divert dirt and excess powder to ensure consistent ejection. Not mandatory, but if you already have the Dremel handy there is no reason not to add it.
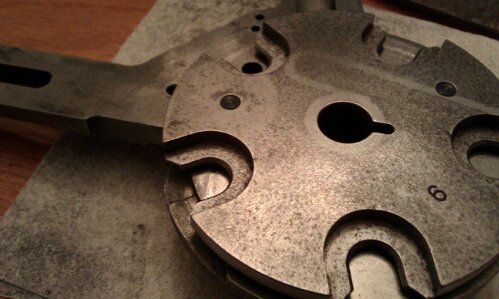
Now, put the entire press back together and give it a whirl! If you did everything correctly it should work like this:
Hope you enjoyed this project. ! Watch for more reloading tips this winter….