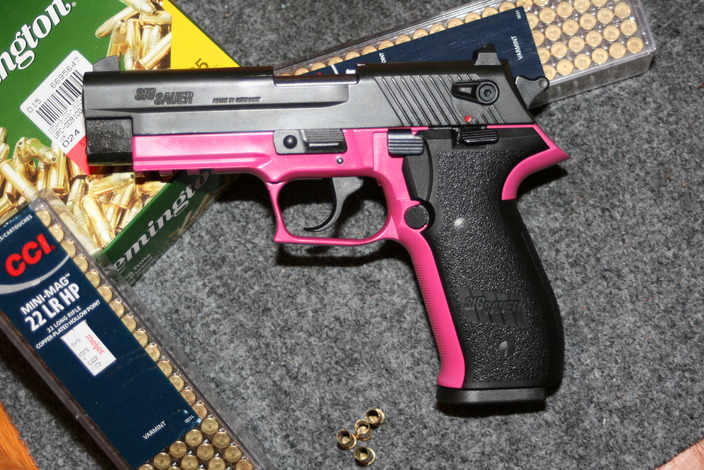
Sig-Sauer Mosquito: Hot & sexy?… nope sorry, she’s a tease
Why did Sig Sauer name their gun the Mosquito?…. because it is the gun that stings your pocketbook twice!
The story starts about 2 1/2 years ago. I walked into Al & Bob’s Sport’s Shop and picked out the very hot handgun, NRA’s gun of the year: “The Springfield XDm”. With me were my wife and kids and as we were wrapping up the paperwork, a nice little pink Sig Sauer caught my wife’s eye. Still on the shopping high, I said: “Yeah, go ahead and get it!” The ride home was great, my wife was so happy and she was taking pictures of the pink little beauty and tweeting it to her friends. The gun was pink, hot, and sexy IMWHO (In My Wife’s Humble Opinion).
When we got to the range, we quickly figured out that the Mosquito was ‘special’. In fact, she started being a real, ahem, ‘bitch’. Still hot, but now throwing tantrums as my wife fed her various brands of .22 ammo. She stomped her feet, turned her back on you in the time of need, and at times just jammed a round just to spite. No, the good old domestic bubbly wines were not good enough for her. She wanted those high-priced CCI Mini Mags and and wanted to be gently massaged on her slide with plenty of lube (CLP Break Free). Well, I thought to myself, my wife has a high priced little range doll with $6.99 CCI habit. This is almost where the story ended.
Fast forward 2 1/2 years. The gun’s trigger was getting gritty, even worse than it was from day one. I decided to figure this gun out and set out to improve the trigger pull and make it run with cheap bulk ammo. I’ve had good luck with Remington golden bullets in conversion kits, so that was my .22 round of choice. I have various .22’s, but pistol conversion kits seem to do fairly well with the Golden’s dirty ammo. So if you are ready to get down and dirty with this “tease” and mold her into a low down and dirty cowgirl, buckle in, set a lot of time aside, and get ready.

What you need:
- A 17# Sig Sauer Hammer spring from Wolff (for a P220-229). The one meant for use with the plastic base
- A very light firing pin return spring
- A blade from a carpet knife
- A dremmel with cutting blades
- An assortment of files
- Metal epoxy
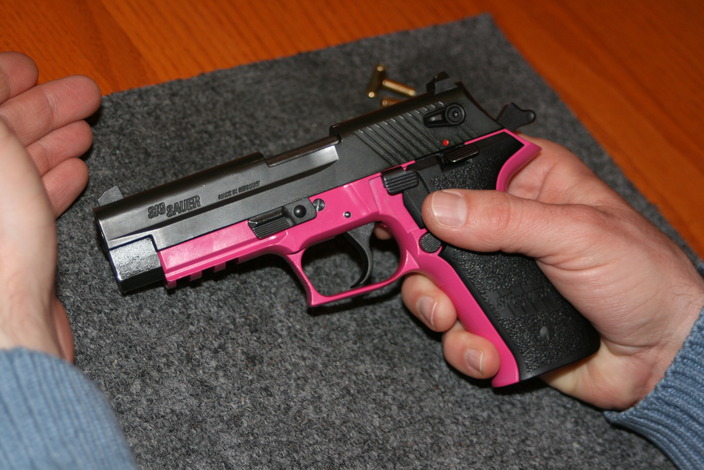
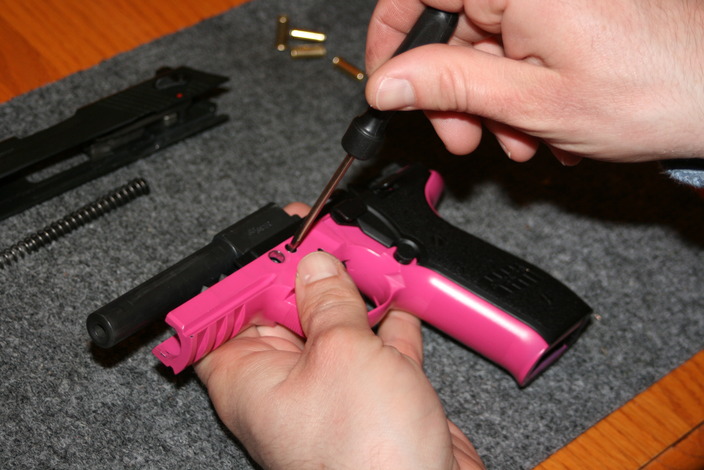
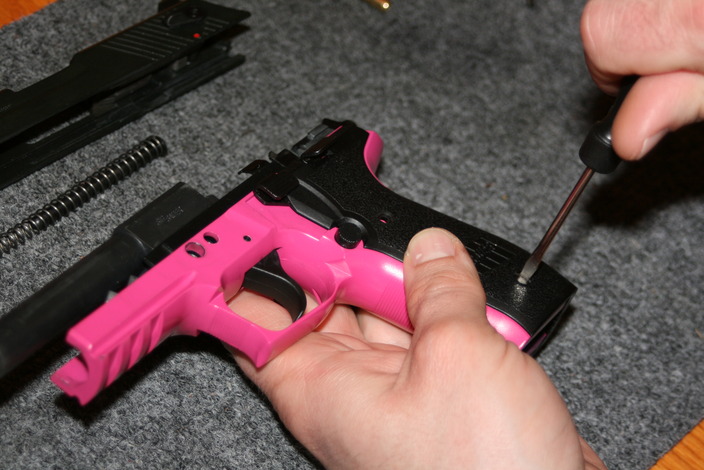
Let first start with the dis-assembly. If you don’t know this don’t even attempt the modifications:
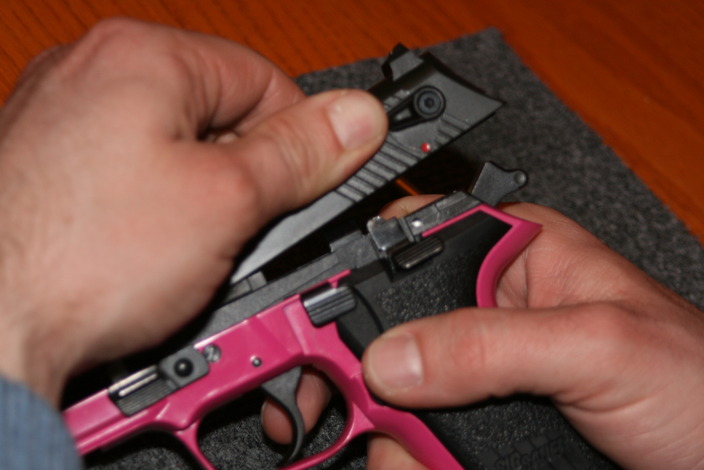
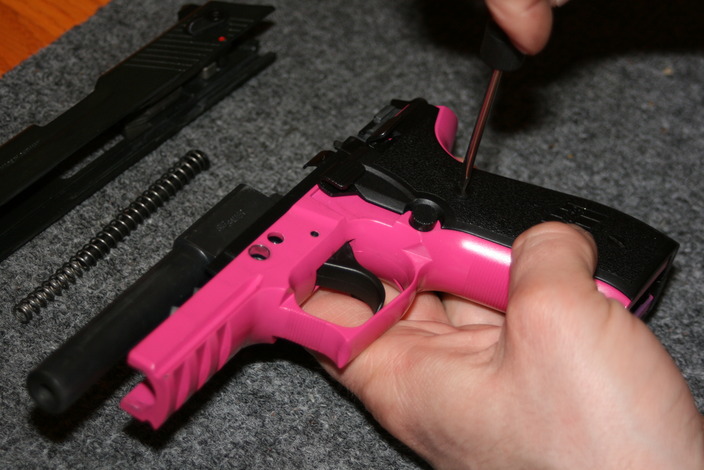
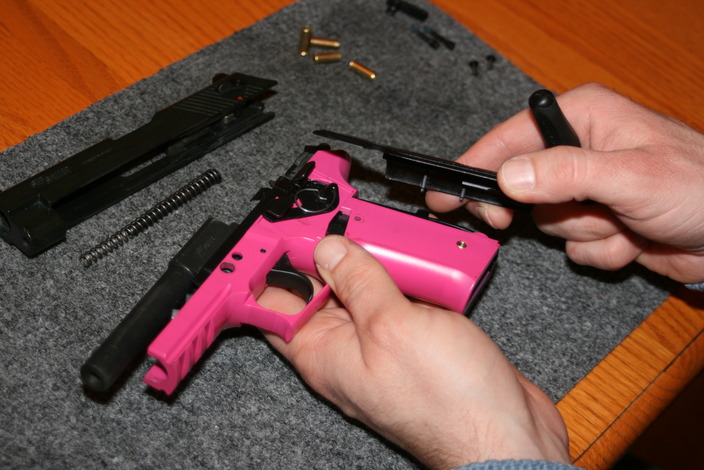
Now pop the slide off:
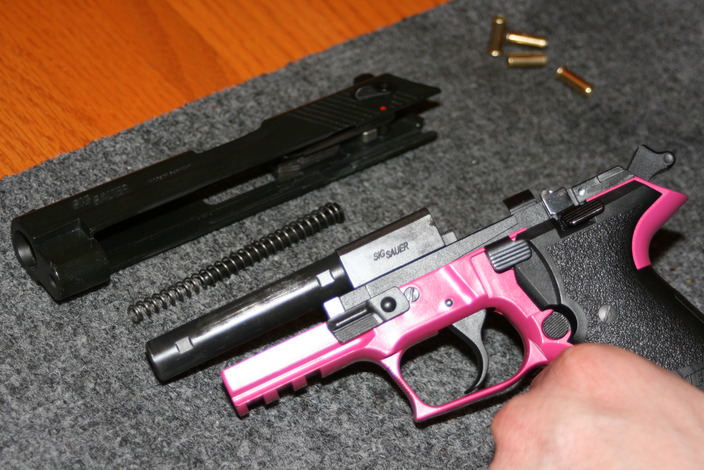
Picture with the slide off:
Now we are going to remove the barrel:
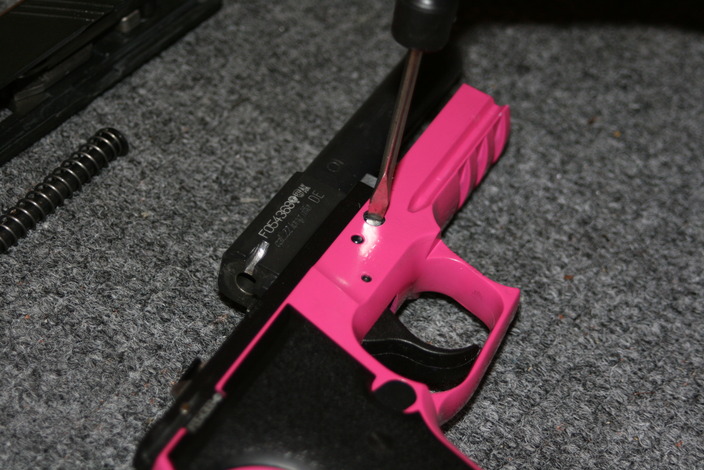
…and take out the barrel screw:
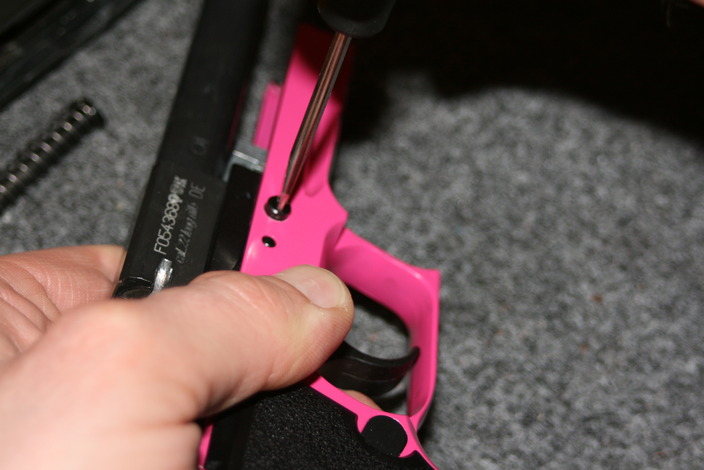
Flip it over and take out screw #2:
Let’s move on to the grips:
…and another picture in case you didn’t realize there were two screws in each side:
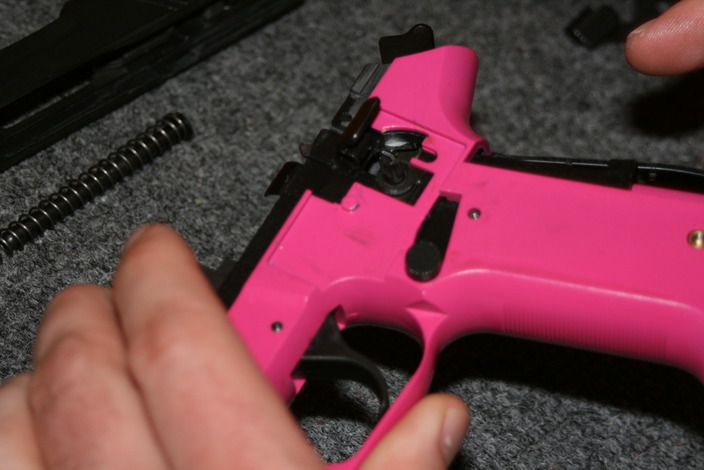
Picture with the grip panel off:
Let’s take the de-cocking spring off:
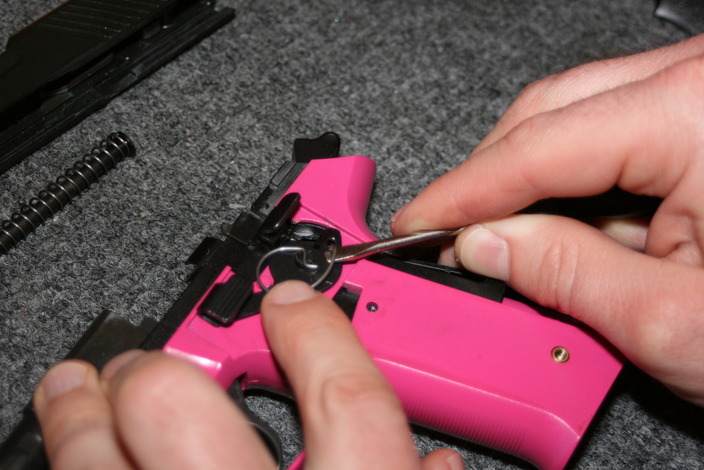
Now pull off the de-cocking lever:
Flip the thing over and do the grip panel removal one more time:
Enjoy the fruits of your labor:
Now we’ll pull the barrel out:
This is what it should look like:
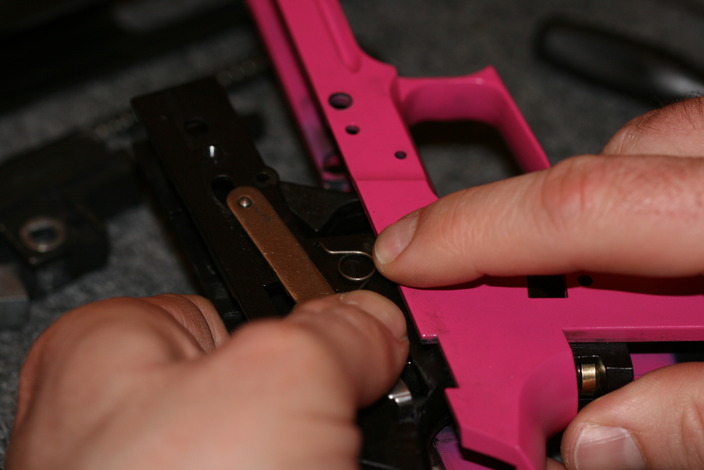
Push the MAGAZINE (not clip) release out from left to right, while making sure the spring does not fly everywhere on the other side (keep your finger on the other side):
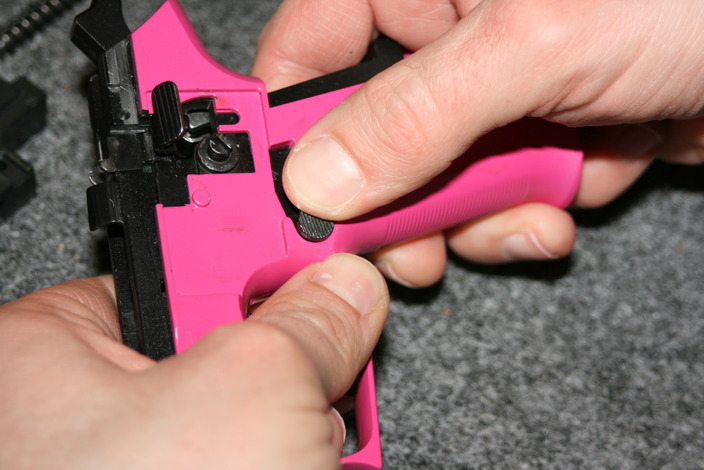
Do you see that little spring? It will land in your salad bowl and you won’t even know it:
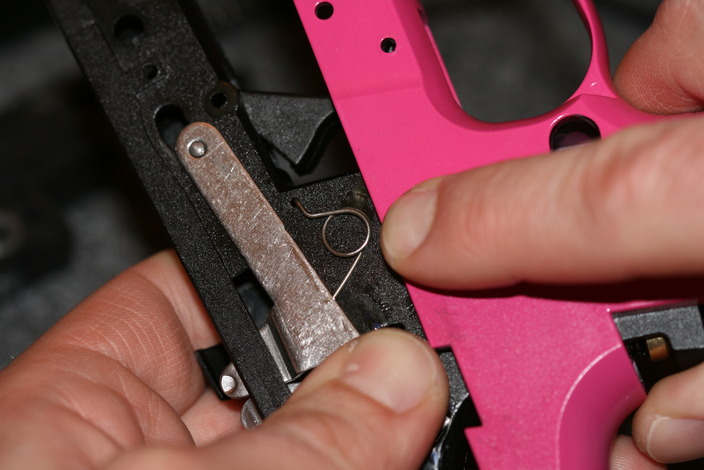
Here is a picture with the slide release out. If you are careful you don’t have to take the mag release apart, but if you want to make sure to not lose the the spring I would take it apart:
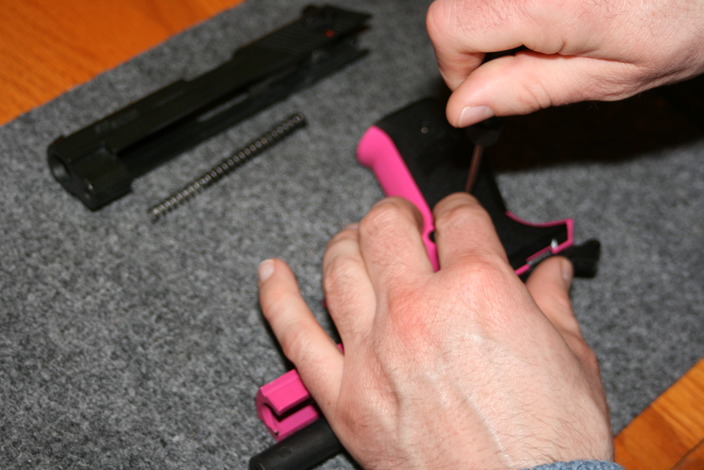
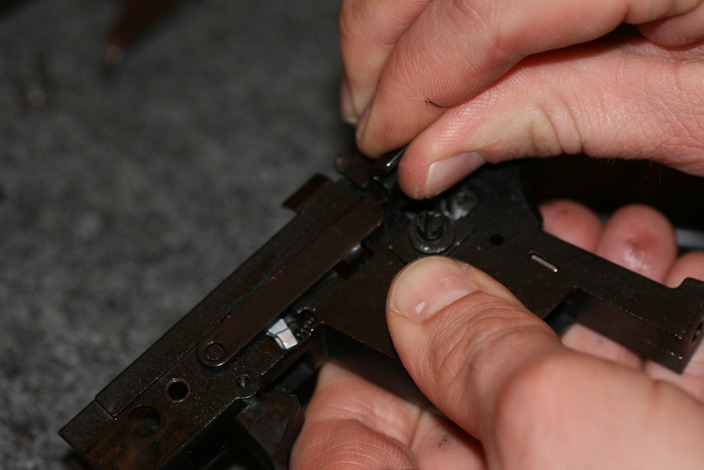
Punch out the trigger pin with a punch:

De-cock the hammer with the same punch:
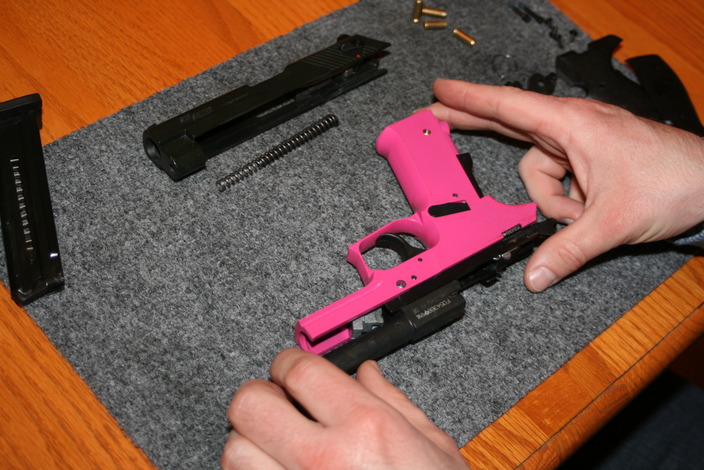
pull the “frame” out of the grip assembly while holding on to the trigger bar and spring:
Remove the spring and trigger bar now:
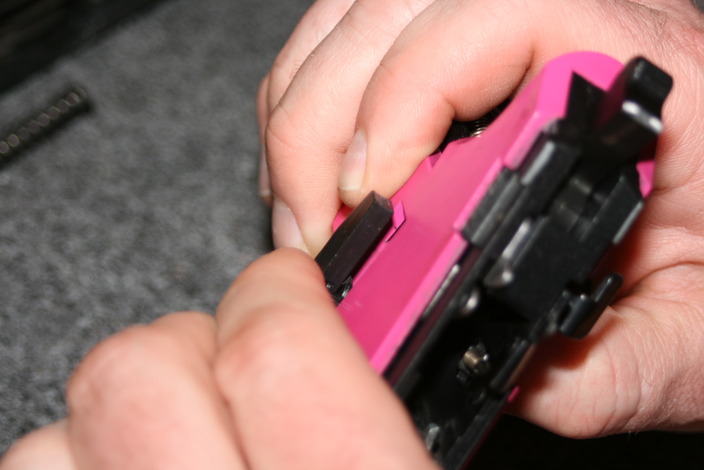
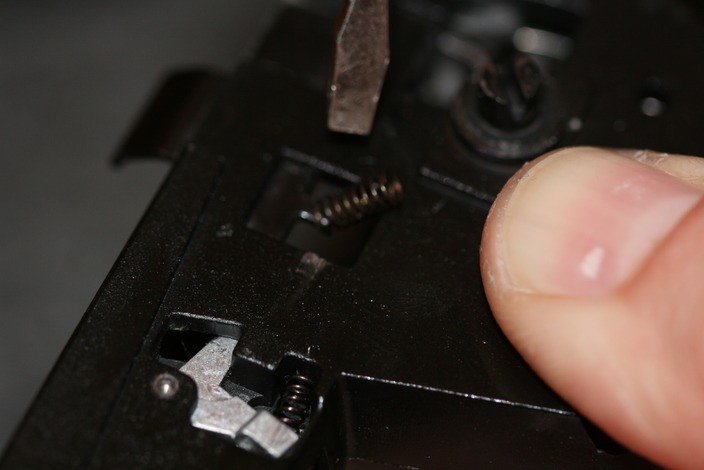
Flip it over and take the slide lock bar and spring out:
Slide lock spring (remove to not lose it):
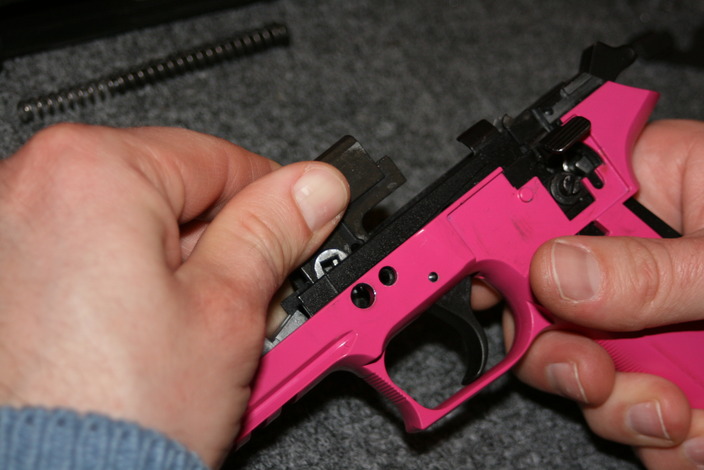
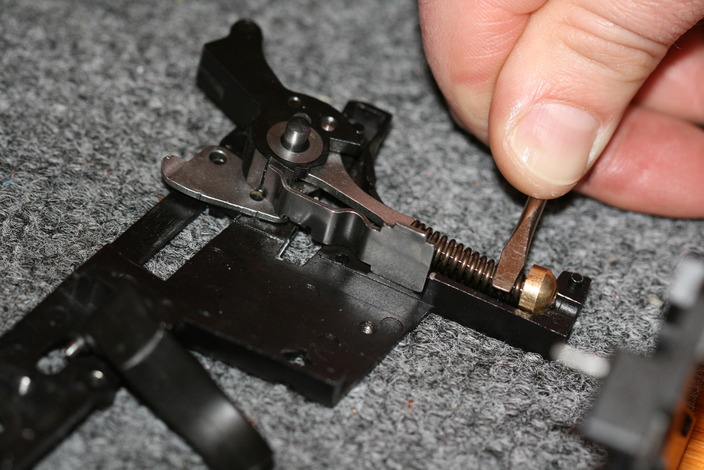
Now let’s separate the frame while watching out for the hammer spring:
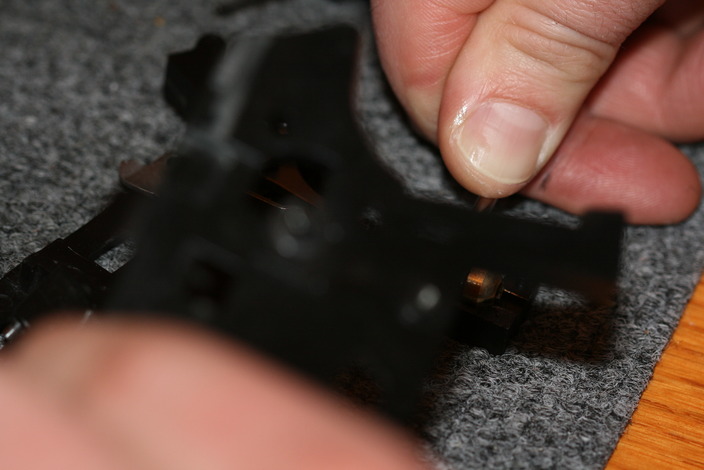
Don’t you hate it when someone gives you a tip after you already completed a step? Well, here is mine. Hold the spring down with a screw driver while pulling the frame apart:
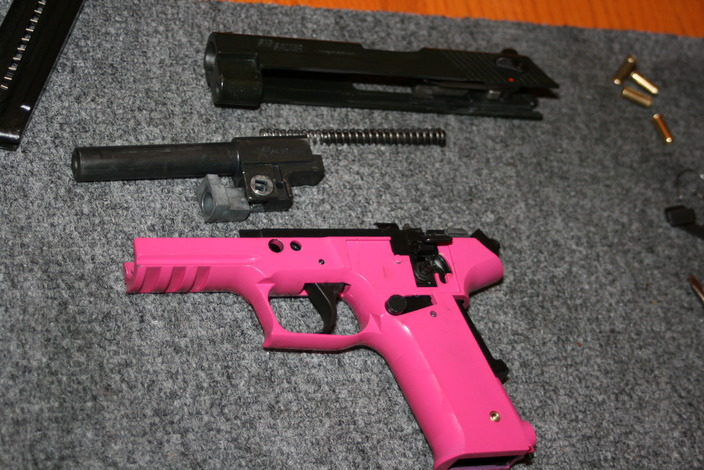
Now rip the rest apart:
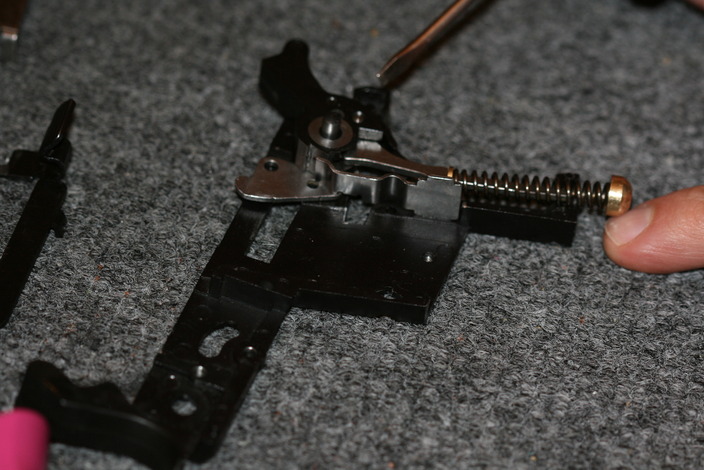
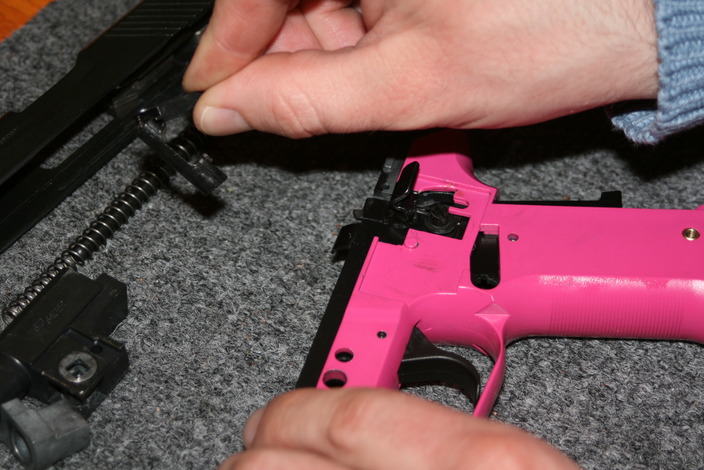
Here is a picture in case you need it for reassembly:

Yeah! You did it. You took a Mosquito apart:

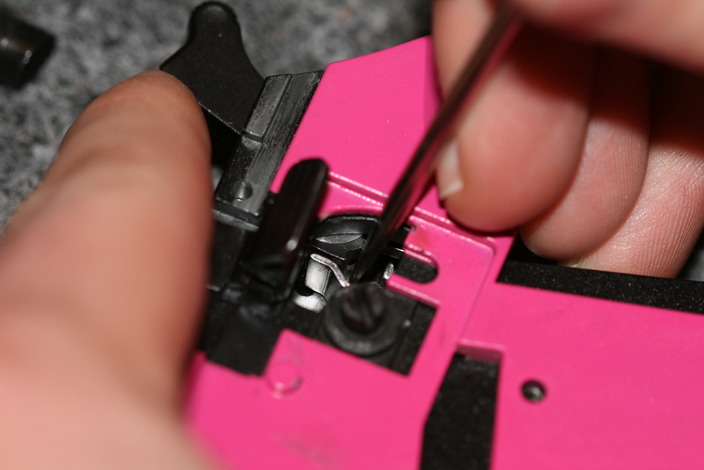
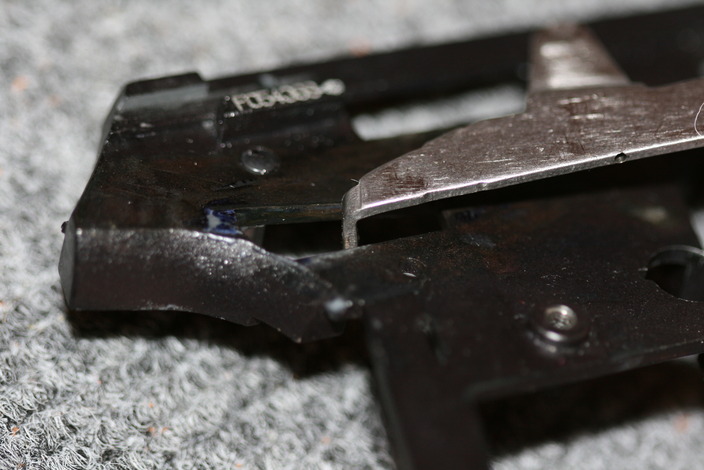
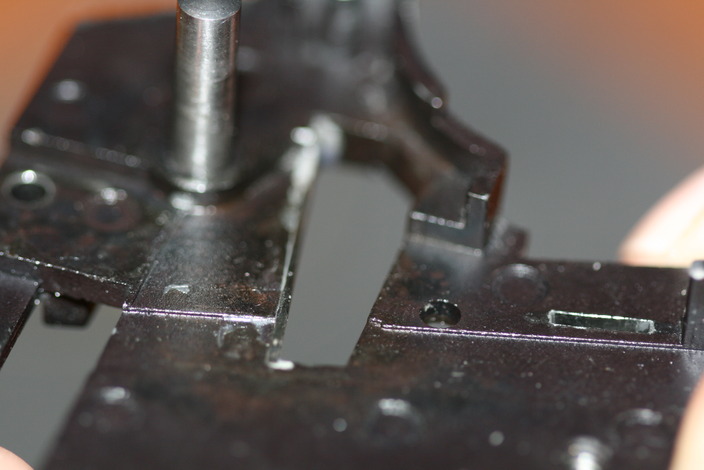
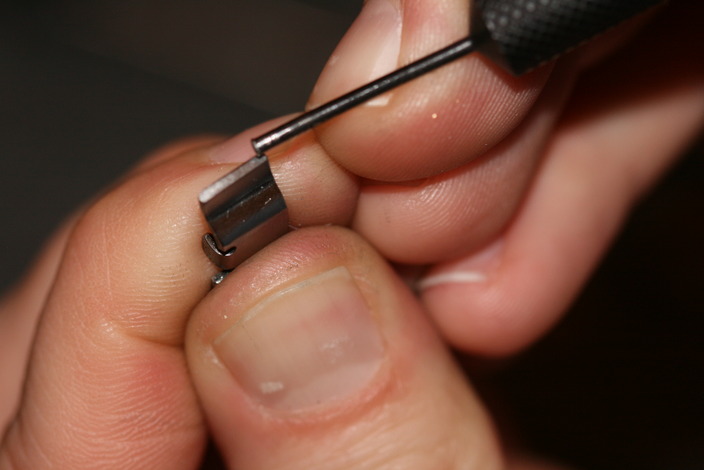
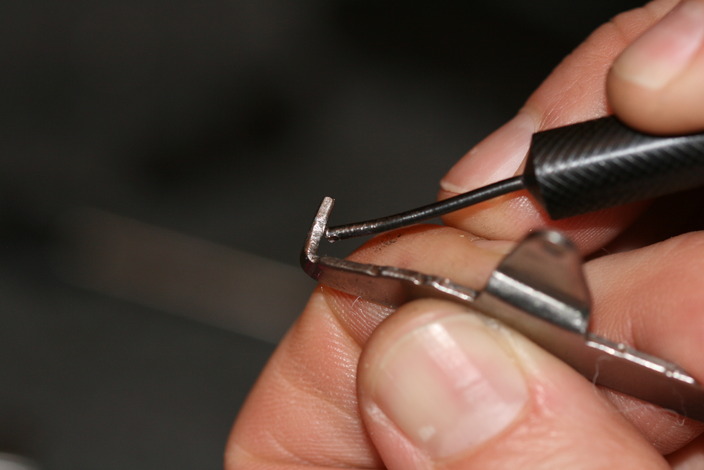
This is the thing that helped most. Sorry, I don’t have pictures of this process. Basically you are going to smooth out the area where the trigger bar rides. If it is badly worn, you have to smooth it out quite a bit. There were severe divots in this one. If you remove too much, the trigger bar will interfere with the sear during single action shooting. I removed enough to place a piece of carpet knife blade and epoxy it in place, so it would never wear into that cheap aluminum alloy frame again. It is a lot of work, but it smooths out your trigger and works great :
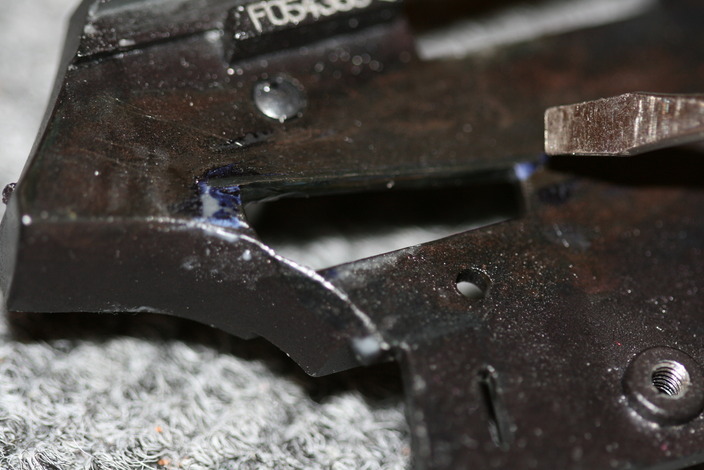
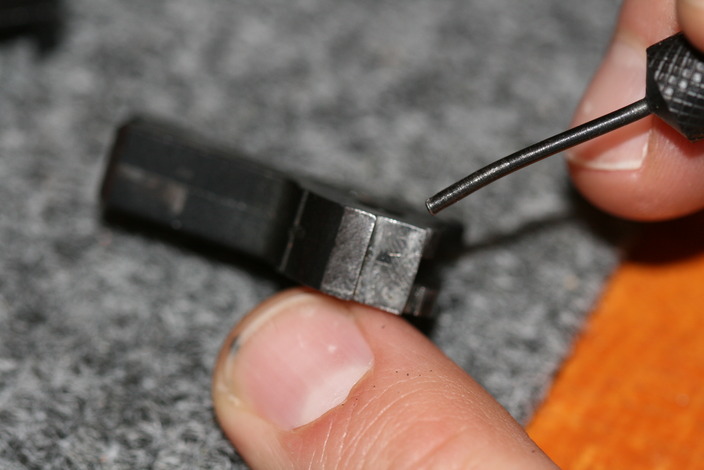
Here you can see the trigger bar riding on that carpet knife blade (steel on steel). Generally it is a no-no to have two different metals rubbing on each other. Not sure what the Germans were thinking:
Another picture, different angle:
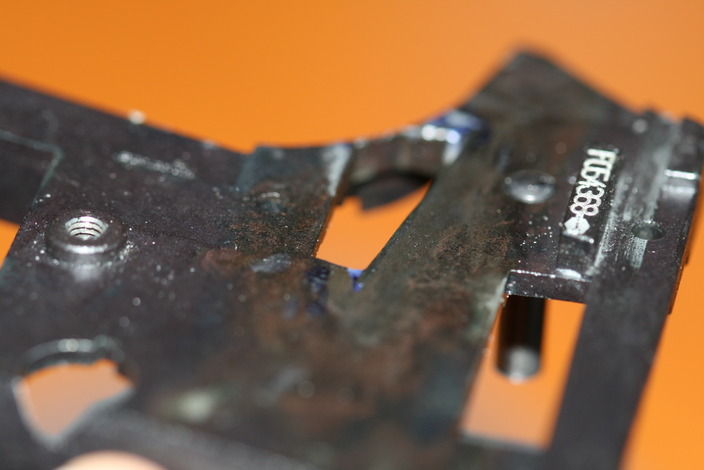
… and a picture from the inside of the frame:
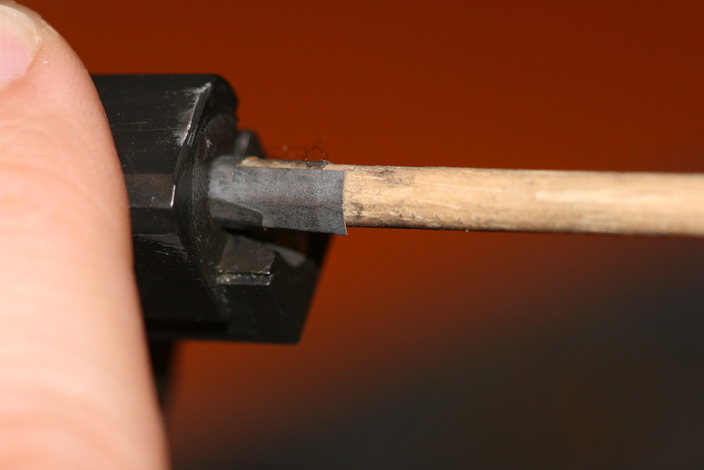
Now that the trigger bar opening is done, let’s polish the feed ramp. A wooden dowel with double sided sticky tape and a 1000 grit sand paper works well :
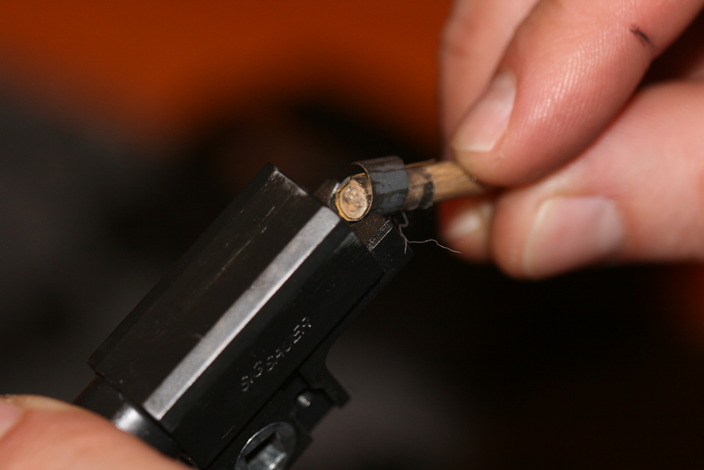
… yeah, it is getting shiny:
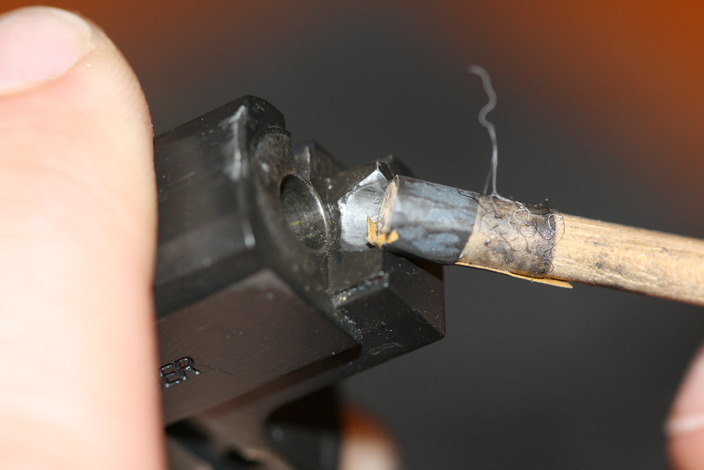
On this gun the chamber was tight. A guy from Sig Sauer in NH said that the European .22 ammo is slightly smaller and some Mosquito’s may have undersized chambers for the American ammo. So let’s open it up a little, but don’t go too far the first time. Remember you can always do more. Just get it to the point where several pieces of ammo fall out easily:
Polish the sear:
Polish the engagement area(s) of the trigger bar:
Polish the engagement portion of the trigger bar:

Polish the hammer parts:
Now that’s it for tonight, reassemble and try it out at the range. In my next post I’ll show you how to use the 17# hammer spring from Wolff on your Mosquito.
Good luck,
Rob
P.S. Remember you are responsible for what you do to your own gun! If you screw it up it is YOUR fault. This is complex and difficult work, so don’t try this at home.